Home » Home Improvement (Page 2)
Category Archives: Home Improvement
3 Tips for Decluttering Your Home
There are many reasons a person might decide to declutter their belongings. Perhaps they have an upcoming move approaching, they’re downsizing to a space with less storage, or they might simply be dreaming of a living space with a lot less stuff. In any case, they need to cut down on the items around them, getting rid of things they don’t need and taking advantage of more effective storage options for those items they intend to keep.
As you embark on your decluttering journey, you may run into a wide range of obstacles and even more questions. For example, how should you handle the sheer number of items you have to sort through? Where can you find storage units near you? What should you do with the things you’re purging? Fortunately, a few particular tips can guide you through the decluttering process at home and beyond.
1. Find the right type of decluttering for you.
From Marie Kondo to The Home Edit, there’s no shortage of decluttering and organizing methods you can choose from, and each one has its legions of devoted followers who swear by their strategy of choice. However, your question shouldn’t be which method of organizing or decluttering is the most effective for most people. Instead, you should consider which option is the right fit for you.
Hot Mess House host Cas Aarssen utilizes this concept in her Clutterbug ideology, a set of four different organizing styles she’s seen in her clients. The same principle can be applied to decluttering. For example, should you sort through your items in large groupings, like the KonMari categories of clothes, books, papers, and so on, or will you have better results by categorizing your belongings further, such as decluttering tops, bottoms, dresses, and other subcategories within the larger umbrella of clothing? Once you’ve determined the most effective strategy for your unique needs and personality, the decluttering process will become much less overwhelming.
2. Figure out what to do with your existing belongings.

The belongings you keep and those you decide to discard will need to be dealt with beyond this initial declutter. For those things you plan to keep, what will you be doing with them? Ideally, you’d have delegated spaces within your home for everything you keep. However, your space doesn’t always work with your lifestyle. For instance, what if you’re embarking on RV life and are decluttering your belongings to fit in that small space, but you don’t want to lose their cherished heirlooms or other non-urgent items just because they’re not in the RV with you? In these cases, a storage facility may very well be your best bet. Just be sure to organize your storage unit to make sure your items are indeed organized and decluttered.
3. Find ways to dispose of the excess.

There are other items that you won’t want to keep. It’s easy to toss out blatant trash, but other types of belongings might prove more difficult. Can that box be recycled? Where might you donate those old clothes? What should you do with that entire extra pile? Take some time to research how you should dispose of those items you’ve decluttered to ensure you’re doing so responsibly. Donations, trash, and even gifts can get unnecessary items out of your home or storage space and to a more appropriate destination.
When you stare at a pile of clutter, the sheer thought of purging and organizing can become intimidating. However, you can and will get through these items successfully. Simply spend some time considering the methods and minds that will work best for you, store your “keep” pile in an organized manner, and dispose of the decluttered excess responsibly. Then, enjoy your newfound extra space!
Process of pool installation, Step wise

The following is a step-by-step guide on installing your swimming pool, from start to finish. When you meet with one of our designers for a free consultation and estimate, they may go through each stage in further detail.
Design
The pool designer will then take the information you provided and create a drawing of the pool in the area you specified on your property.
Layout & Excavation
This is the first step in the construction of your salt water pool The layout as well as the excavation are completed on the same day. The construction manager and excavation crew will meet with you to plan the pool’s layout. They will begin excavating the pool after you have approved the location and elevation of the pool. This day will be used to remove any surplus soil that cannot be graded into the yard.
They will simply remove soil from the yard at this time. The location of your filter equipment and light junction boxes will also be confirmed by the construction superintendent. If you haven’t finalised your coping and tile choices yet, you’ll need to do so now to avoid any delays in construction process. This is the day that your excavation instalment is due.
Steel Reinforcing
This is where your pool’s support structure is built. Our gunite shell gains structural strength from the steel setting. Once the steel is installed, the township will be contacted for a building inspection and a partial bonding inspection.
Gunite
It is at this point that the pool’s shell is constructed. For this part of the project, we’ll need to use your outdoor water supply. You may be required to stay for a few moments to approve the placement of any benches and your steps. This is also when the gunite instalment is due.
Plumbing
The pool plumbing and filter equipment will be installed and pressure tested on this day. This step does not require your presence because the equipment and light junction boxes were installed during the layout and excavation. If an electrician and a gas plumber are required, you are now ready.
Coping and Tile
It is now that you will see that your saltwater pool is getting finished. Your raised wall’s coping and tiling, as well as, if necessary, the facestone, will be installed. You do not require to be present for this stage once again.
Electric and Gas
The electric and gas lines must be connected after the pool filter equipment has been installed.
Decking
The decking installation can be planned after the electric and gas connections have been examined.
If you hire your own decking contractor, it is your decking contractor’s job to ensure that the decking is not completed until all necessary inspections have been conducted, such as gas and electric trenches, and bonding. It is also your concern that the installed decking does not surpass or impact on any township setbacks or limits and that the amount of decking does not exceed any lot covering totals. Backfilling any ditches that may be in the way of installing the deck is the responsibility of whoever is performing the decking.
It’s also crucial that the decking system, concrete, or pavers have adequate expansion, with at least a 12″ x 4″ ethafoam expansion connection between the deck and the pool coping and shell. If you don’t get this installed, you risk damaging your pool’s coping, tile, and gunite shell, which won’t be covered under warranty.
Fencing
After the decking is finished, the fencing around your saltwater pool should be built. They can’t start filling your pool until the permanent fence is in place due to local building laws. They request that one portion of the fence be removed so that They can access the saltwater pool to plaster it.
Plastering
This is the right time to start planning your pool party. This is the last step in the saltwater pool construction process. We leave the pool to fill with your water supply after the plaster is done. DO NOT end the water from filling the pool during the filling phase. Where the water was turned off, a stain or ring may appear on the pool plaster surface. Stop filling the pool after the water reaches the centre of the tile and call the office to schedule the start-up. This is the moment to pay for the plaster.
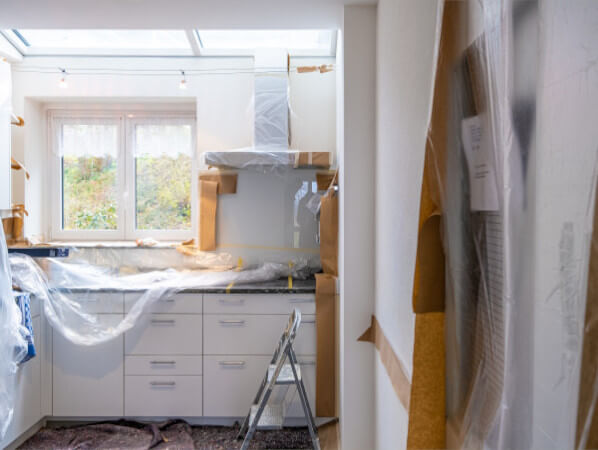
Making a Small, Outdated Bathroom Look Fabulous
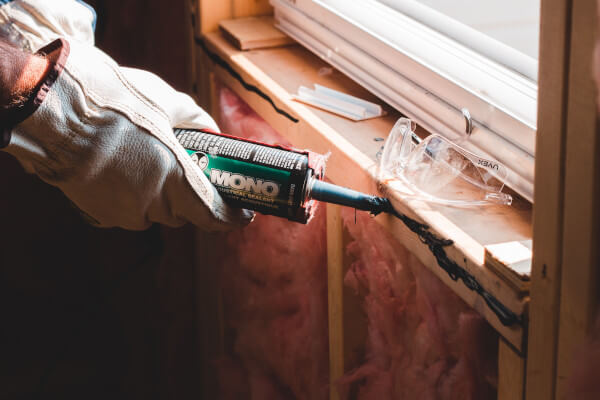
When you have a master bathroom that’s anything but, and you’re working with a limited budget, it’s time for a small bathroom remodel.
The post Making a Small, Outdated Bathroom Look Fabulous appeared first on Today’s Homeowner.
Did you miss our previous article…
https://www.passivehouseca.org/?p=287
DIY Upholstery Tips for Beginners
Have you got some beloved furniture that you just can’t bring yourself to throw away? Whether it’s an old chair that needs a new seat, or you’d like to give a piece of furniture a bit of a revamp, having a go at DIY upholstery could be your best bet.
However, if you’re new to the upholstery world you might not know where to begin. This article will go over some of the top tips for DIY upholstery to help you make a start on your new project. From which upholstery nails to choose from to checking the inside of your furniture, here’s everything you need to know about upholstery before you start.
Get your tools right:
The first tip may be one of the most important, as without the right tools, there’s no way you could do a decent job! Having the correct tools will not only make your life easier, but the finished product will also thank you for it. Your final results will go from amateur-looking to professional level! Here are the most important tools to get right:
Upholstery gun: There are three different types of upholstery guns, the most popular being the pneumatic staple gun. This type will make the job much easier and quicker, so don’t just go for the cheapest option, as you might regret it!Upholstery nails: You can choose from a range of upholstery nails to add a final touch to your product. Not only can these disguise any staples on show, but they can be used as decoration to give the furniture a certain look or style. You’ll need a hammer for this!Fabric scissors: Good quality fabric scissors are essential for getting straight lines and avoiding tearing to the fabric.Marker: You can use anything from chalk to a pencil to mark where you want to cut the fabric, this will help you make more accurate measurements.Staple remover: For all beginners, you’re bound to make a couple of mistakes. Having a staple remover on hand will allow you to fix those errors swiftly.
Don’t forget the inside
When you first start upholstering, you only want to focus on updating the outside. With this in mind, you need to check to make sure the insides are in good condition. If not, this will be a job for a professional.
You can check the insides are working correctly by testing how sturdy and solid it feels when you sit on the furniture piece. If it feels rock hard or you sink deep into the seat, these are signs that there are a few problems that need fixing and you should leave that piece to someone who knows what they’re doing!
Be picky with fabrics
You don’t want to put loads of effort into upholstering a piece of furniture for the fabric to only last a couple of months (or to rip whilst you’re working on it!). If you choose a fabric that won’t tear easily and is heavy-duty to withstand years of rubbing, you could give the chair or sofa a new lease of life for years to come.
Thin fabrics might be cheap, but you’ll just have to re-do the covering not long after! Heavy hemp fabrics and cotton twill or denim are all good choices for long-lasting upholstery.
Start small
It’s great to be optimistic, but if it’s your first time trying to reupholster a piece of furniture, it’s probably not the best idea to start with something expensive, large, or pieces that are important to you. It’s best to get your practice in first until you feel confident enough to tackle larger projects.
You don’t want to start with a large piece of furniture as this might be so difficult that it puts you off upholstering for a long time. Have a go with something small like a footstool as your first attempt to get yourself comfortable with the process. Buying something cheap will also put the pressure off getting it right first time, that way you can have more fun with it and any mistakes won’t be a big deal.
Practice makes perfect!
As with anything, skills take time to develop and the more time you give to it, the better you will get. Follow these top tips when tackling your first upholstery project and you should feel confident enough to make a start.
5 Creative Ideas for Renovating a Nursery Room
The first room that a child experiences is the nursery. It prepares them for their future as they learn how to sleep, play and even walk in this new space. The nursery should be filled with items that will encourage a child’s curiosity and imagination.
Nurseries are also a place where many parents choose to decorate for baby showers, so it is important to keep in mind how this room could transform over time. It’s also helpful to consider the different types of nursery beds, storage and lighting.
We’ve rounded up five design ideas that can help you get inspired for creating your perfect nursery room.
light source that matches the style of your child’s bed

If you are planning to use a convertible crib, go ahead and purchase one with a canopy. Place an overhead light fixture that matches the bed’s style, then switch it on each evening before your little one falls asleep.
If you plan to use this room as an adult guest space in the future, think about investing in lighting styles that will complement your décor and fit in with other items in your home.
n area for rocking and comforting
If you plan to use a crib until your baby is ready for a toddler bed, it’s helpful to create a separate space that is solely dedicated to comfort. This may be as simple as adding an armchair next to the crib or creating a special reading corner in the nursery.
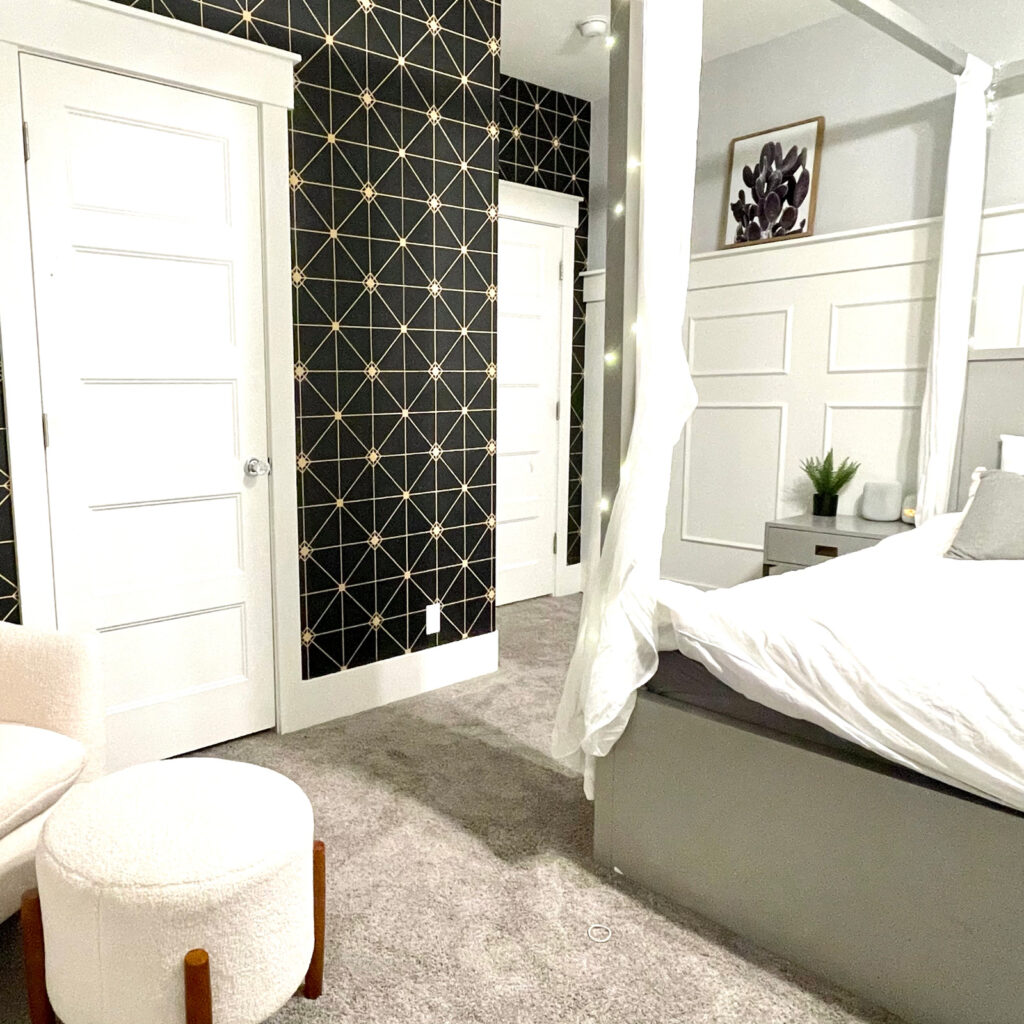
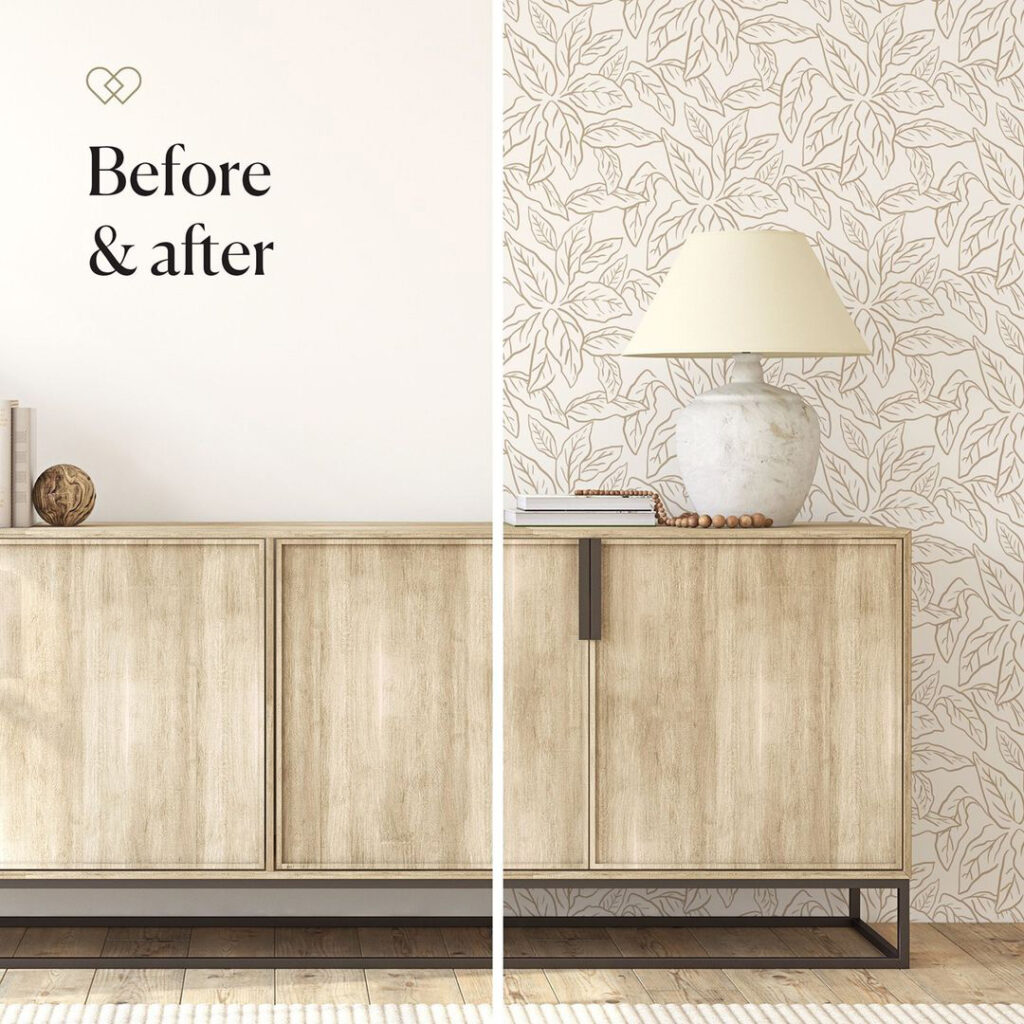
Peel and stick Wallpapers
Use Custom wallpaper that is peel and stick wallpapers to add color and texture to the walls, then carefully paint over them with a low-odor paint. Peelable wallpapers can be great for nurseries as they can be repainted and redecorated over time.
Decor that expands their horizons
Children’s rooms should be decorated with items that broaden their horizons, like a mobile that includes images of the moon and stars or an area rug with an interesting pattern. These are only two examples of how to transform this space into something special. Use your imagination and decorate this room with items that will encourage your child to explore while they are still very young.
Lighting and storage containers that parents can use in other rooms
It’s a great idea to add lighting and storage units that can be used in different parts of the house when you are finished using them in the nursery. If you have the budget, you may also want to look into changing tables with storage space.
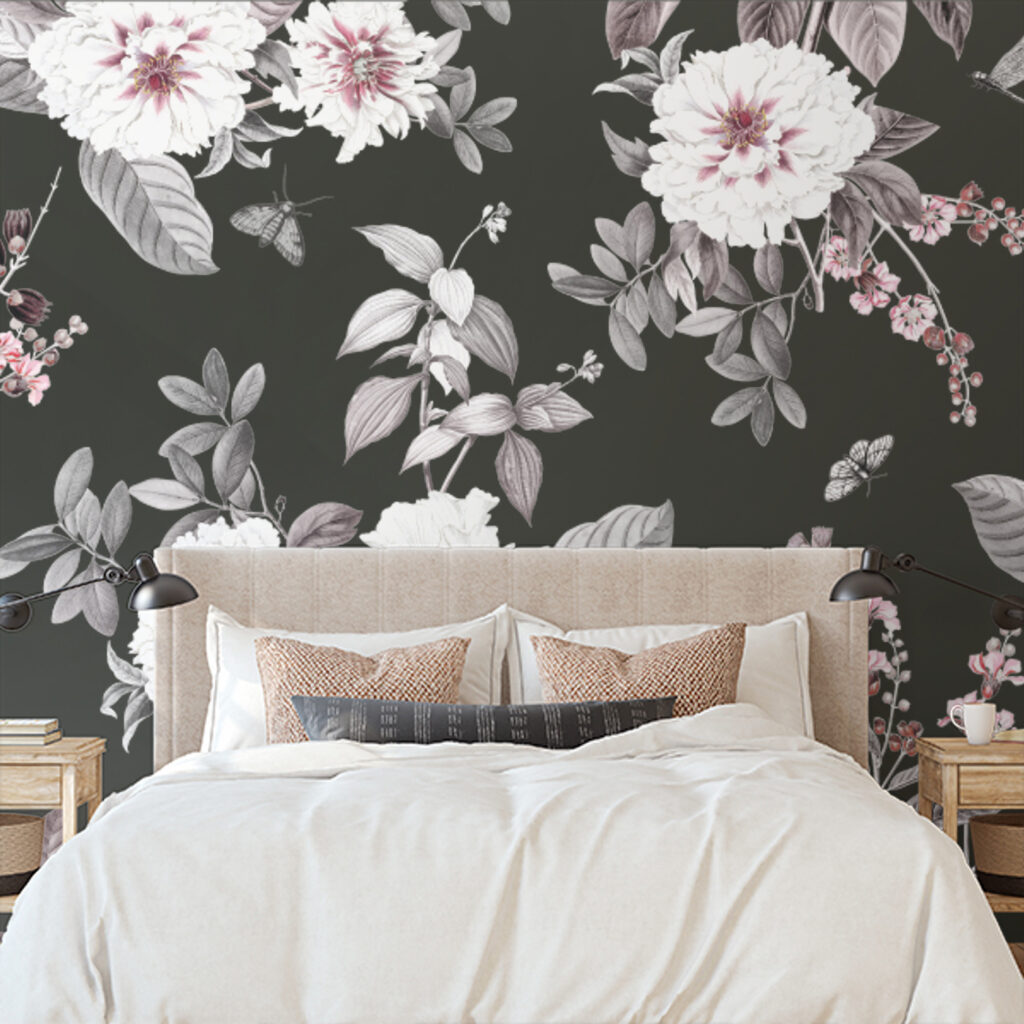
style that reflects your personal taste and is easy to update
It’s important to decorate a nursery room in a style that showcases your personal tastes, but is also functional. You can do this using wallpapers for nursery. It’s helpful to go with basic colors and designs for this room as you will most likely be updating the space every few years.