Process of pool installation, Step wise
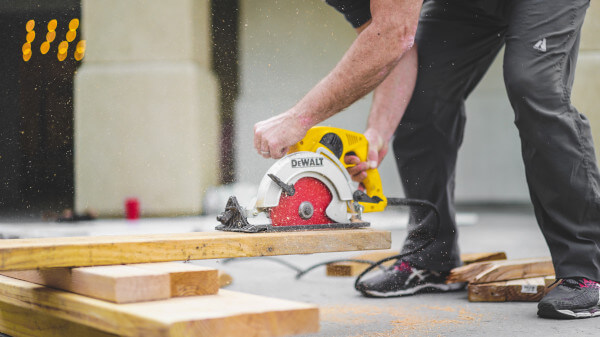
The following is a step-by-step guide on installing your swimming pool, from start to finish. When you meet with one of our designers for a free consultation and estimate, they may go through each stage in further detail.
Design
The pool designer will then take the information you provided and create a drawing of the pool in the area you specified on your property.
Layout & Excavation
This is the first step in the construction of your salt water pool The layout as well as the excavation are completed on the same day. The construction manager and excavation crew will meet with you to plan the pool’s layout. They will begin excavating the pool after you have approved the location and elevation of the pool. This day will be used to remove any surplus soil that cannot be graded into the yard.
They will simply remove soil from the yard at this time. The location of your filter equipment and light junction boxes will also be confirmed by the construction superintendent. If you haven’t finalised your coping and tile choices yet, you’ll need to do so now to avoid any delays in construction process. This is the day that your excavation instalment is due.
Steel Reinforcing
This is where your pool’s support structure is built. Our gunite shell gains structural strength from the steel setting. Once the steel is installed, the township will be contacted for a building inspection and a partial bonding inspection.
Gunite
It is at this point that the pool’s shell is constructed. For this part of the project, we’ll need to use your outdoor water supply. You may be required to stay for a few moments to approve the placement of any benches and your steps. This is also when the gunite instalment is due.
Plumbing
The pool plumbing and filter equipment will be installed and pressure tested on this day. This step does not require your presence because the equipment and light junction boxes were installed during the layout and excavation. If an electrician and a gas plumber are required, you are now ready.
Coping and Tile
It is now that you will see that your saltwater pool is getting finished. Your raised wall’s coping and tiling, as well as, if necessary, the facestone, will be installed. You do not require to be present for this stage once again.
Electric and Gas
The electric and gas lines must be connected after the pool filter equipment has been installed.
Decking
The decking installation can be planned after the electric and gas connections have been examined.
If you hire your own decking contractor, it is your decking contractor’s job to ensure that the decking is not completed until all necessary inspections have been conducted, such as gas and electric trenches, and bonding. It is also your concern that the installed decking does not surpass or impact on any township setbacks or limits and that the amount of decking does not exceed any lot covering totals. Backfilling any ditches that may be in the way of installing the deck is the responsibility of whoever is performing the decking.
It’s also crucial that the decking system, concrete, or pavers have adequate expansion, with at least a 12″ x 4″ ethafoam expansion connection between the deck and the pool coping and shell. If you don’t get this installed, you risk damaging your pool’s coping, tile, and gunite shell, which won’t be covered under warranty.
Fencing
After the decking is finished, the fencing around your saltwater pool should be built. They can’t start filling your pool until the permanent fence is in place due to local building laws. They request that one portion of the fence be removed so that They can access the saltwater pool to plaster it.
Plastering
This is the right time to start planning your pool party. This is the last step in the saltwater pool construction process. We leave the pool to fill with your water supply after the plaster is done. DO NOT end the water from filling the pool during the filling phase. Where the water was turned off, a stain or ring may appear on the pool plaster surface. Stop filling the pool after the water reaches the centre of the tile and call the office to schedule the start-up. This is the moment to pay for the plaster.
Making a Small, Outdated Bathroom Look Fabulous
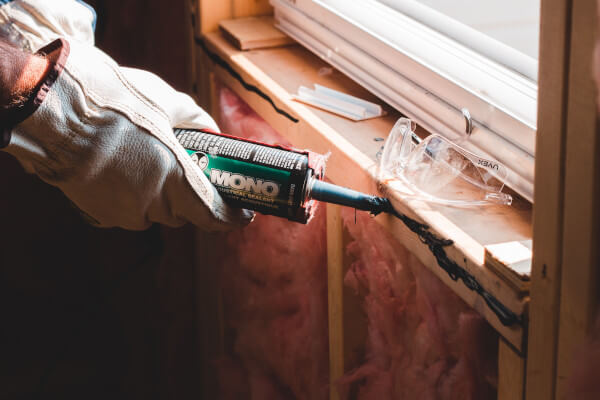
When you have a master bathroom that’s anything but, and you’re working with a limited budget, it’s time for a small bathroom remodel.
The post Making a Small, Outdated Bathroom Look Fabulous appeared first on Today’s Homeowner.
Did you miss our previous article…
https://www.passivehouseca.org/?p=287
DIY Upholstery Tips for Beginners
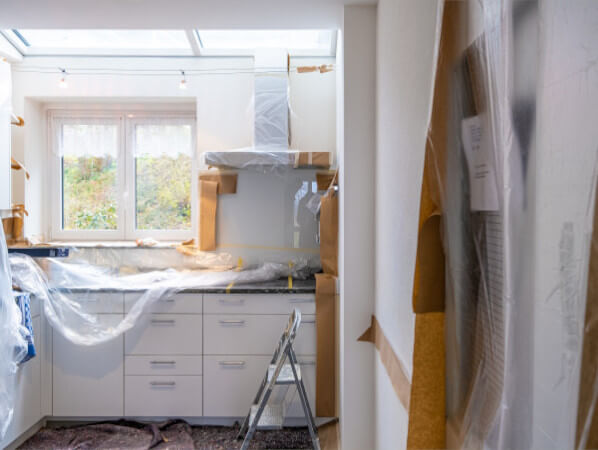
Have you got some beloved furniture that you just can’t bring yourself to throw away? Whether it’s an old chair that needs a new seat, or you’d like to give a piece of furniture a bit of a revamp, having a go at DIY upholstery could be your best bet.
However, if you’re new to the upholstery world you might not know where to begin. This article will go over some of the top tips for DIY upholstery to help you make a start on your new project. From which upholstery nails to choose from to checking the inside of your furniture, here’s everything you need to know about upholstery before you start.
Get your tools right:
The first tip may be one of the most important, as without the right tools, there’s no way you could do a decent job! Having the correct tools will not only make your life easier, but the finished product will also thank you for it. Your final results will go from amateur-looking to professional level! Here are the most important tools to get right:
Upholstery gun: There are three different types of upholstery guns, the most popular being the pneumatic staple gun. This type will make the job much easier and quicker, so don’t just go for the cheapest option, as you might regret it!Upholstery nails: You can choose from a range of upholstery nails to add a final touch to your product. Not only can these disguise any staples on show, but they can be used as decoration to give the furniture a certain look or style. You’ll need a hammer for this!Fabric scissors: Good quality fabric scissors are essential for getting straight lines and avoiding tearing to the fabric.Marker: You can use anything from chalk to a pencil to mark where you want to cut the fabric, this will help you make more accurate measurements.Staple remover: For all beginners, you’re bound to make a couple of mistakes. Having a staple remover on hand will allow you to fix those errors swiftly.
Don’t forget the inside
When you first start upholstering, you only want to focus on updating the outside. With this in mind, you need to check to make sure the insides are in good condition. If not, this will be a job for a professional.
You can check the insides are working correctly by testing how sturdy and solid it feels when you sit on the furniture piece. If it feels rock hard or you sink deep into the seat, these are signs that there are a few problems that need fixing and you should leave that piece to someone who knows what they’re doing!
Be picky with fabrics
You don’t want to put loads of effort into upholstering a piece of furniture for the fabric to only last a couple of months (or to rip whilst you’re working on it!). If you choose a fabric that won’t tear easily and is heavy-duty to withstand years of rubbing, you could give the chair or sofa a new lease of life for years to come.
Thin fabrics might be cheap, but you’ll just have to re-do the covering not long after! Heavy hemp fabrics and cotton twill or denim are all good choices for long-lasting upholstery.
Start small
It’s great to be optimistic, but if it’s your first time trying to reupholster a piece of furniture, it’s probably not the best idea to start with something expensive, large, or pieces that are important to you. It’s best to get your practice in first until you feel confident enough to tackle larger projects.
You don’t want to start with a large piece of furniture as this might be so difficult that it puts you off upholstering for a long time. Have a go with something small like a footstool as your first attempt to get yourself comfortable with the process. Buying something cheap will also put the pressure off getting it right first time, that way you can have more fun with it and any mistakes won’t be a big deal.
Practice makes perfect!
As with anything, skills take time to develop and the more time you give to it, the better you will get. Follow these top tips when tackling your first upholstery project and you should feel confident enough to make a start.
How Much Do Custom Cabinets Cost?
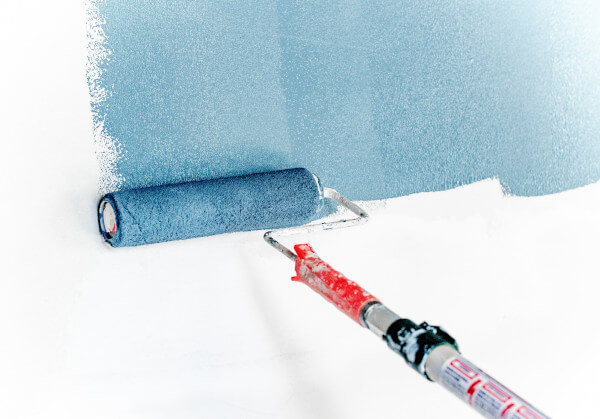
Cabinets are home assets. They hold and keep the most important things for you, such as clothes, tools, utensils, display frames and figures, and even your important documents. Almost everything that you need to keep and care for is put in the cabinet. It is essential to invest in cabinets with multiple shelves to help you organize your essentials and household stuff together.
There are various types and sizes of cabinets. There are small ones for documents, and there are big ones that can hold appliances and equipment. There are standing cabinets and hanging cabinets. There are also portable ones as well as those that are mounted on the wall. Each kind of cabinet serves a specific purpose and fits in particular places. For instance, if you want to save space, you can have hanging cabinets. If you have enough household space, you can have standing cabinets. And if you wish to change the placement of your cabinet inside your household now and then, you can have portable cabinets.
A carpenter has the expertise, skills, and experience that can help you achieve a cost-efficient, durable, and highly functional custom cabinet. You can get carpenter quotes to know the best carpenters who offer professional skills and highly satisfactory service near your area. How much does a carpenter cost? It depends on the duration of service and the weight of the workload. You can pay a carpenter by hourly rate or by the project. It is wise to compare quotes to give yourself choices and ensure that you get the best professional work right on your budget.
Advantage Of Custom Cabinets
Custom cabinets are your best choice when it comes to choosing storage for your household. Custom cabinets can fit according to your needs and preferences. The specifications of a custom cabinet are highly dependent on your demand. You can express your style and creativity in your cabinet without sacrificing its quality and durability. Indeed, no penny goes to waste when you are able to get a cost-efficient and very satisfactory cabinet to add value to your household and keep your essentials safe and organized.
More flexible
Custom cabinets can fit any available space in your house. There are unlimited size variations, and it can fit precisely anywhere you wish to put it. They are made to fit your lifestyle, and it is up to you to choose the dimensions, style, and final furnish of your cabinet. But if you have no idea where to begin, a carpenter can help you plan your cabinet, including costing, dimensions, design, and materials that will be used. You do not need to worry about carpentry service deals because you ask for carpenter quotes to hire the best and nearest carpenter in your area.
With the help of a carpenter, you can have highly functional cabinets in the important areas of your household. You can have a well-polished and smoothly furnished cabinet made with excellent woodwork skills.
More durable
The durability and functionality of your custom cabinet are the priority; that is why skilled carpenters use excellent construction methods to make sure that the measurements are accurate and the dimensions are correct. You do not want to have expensive maintenance service along the road, and an essential aspect of ensuring durability is having a thick and sturdy custom cabinet.
The cabinet boxes should be ½ inch on the sides and ¼ inch on the back. But if you can have it at ¾ inch and ½ inch, that is better. The drawer boxes should be sliding smoothly and neatly with a cracking sound. Of course, you can go beyond these dimensions as long as it fits the space where you will put your cabinet. Lastly, the shelves should be ¾ inches thick. These standard measurements are not new to a carpenter, and their skills and expertise can create a cabinet with accurate dimensions that suit your needs.
Custom Accessories And Details
The best things about a custom cabinet, aside from specified dimensions, are specified accessories and details. There are designated standards of measurement which you can go beyond and add intricate details that suit your preference. Custom accessories and details include cabinet handles, the style of the door opening, and the functions of the shelves. You can have shelves without covering, with a sliding cover, dorr-type cover, or with panels.
A carpenter can help you choose the correct details and accessories for the style of cabinet that you will choose. You can also rely on him when it comes to visualizing the cabinet that embodies your preferences. All of these cabinet accessories and details will be specified during the planning and costing. Make sure to communicate your preferences but make sure that it is reasonable. After all, a carpenter will bring out the best in the custom cabinet that you envision.
Invest In Professional Work
Whether for your new house or a part of a renovation plan, your custom cabinets are one of your most significant home investments. Of course, you want nothing but the best when it comes to adding value to your home and improving your quality of living. It is best if you invest in professional work, and the best woodwork skills you can rely on are a carpenter’s skills.
4 Renovations That Will Transform Your Swimming Pool
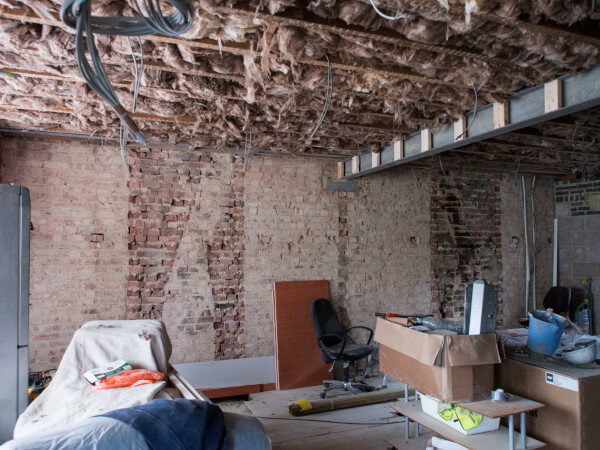
As you upgrade your home, one of the areas that is likely to be left out is the pool area. Just like other areas of your home, the pool gets worn out too. Why does your pool need attention too? This is the place you get rejuvenation after long tiresome days, it might also be where you host guests and it also contributes to the overall appeal of your home.
If your pool exhibits dry ambience, has leaks and old systems and it is no longer trendy, this is a call for an upgrade. With the help of pool remodeling Tucson experts, here are some upgrades that will transform your pool area.
Installing LED lights
Is the poor lighting in your pool blocking you from enjoying your evenings and nights in the pool area? Well, installing LED lights will give it an impressive transformation. Not only will these lights save your energy by about 75%, but they will also add to the ambience while ensuring lighting is adequate.
To make the view even better, you can install LED lights that change colors to create a light show in your pool. This is a good way to revamp a swimming pool that is out of trend, while at the same time enhancing safety.
Add some stone coping around the pool
Stone coping around the swimming pool will give it a great face lift. Stone coping has greater ambience compared to concrete. More so, it is safer that other materials like tiles which are slippery to walk on. Stone coping comes in a wide range of options and designs allowing you to achieve your preferred aesthetics.
Compared to other materials this gives a distinct charm that also makes your pool look expensive and elegant.
Automatic leveler
An automatic leveler will detect when the water levels in the pool are too low and trigger a refill up to the optimum level. Whey do you need an automatic leveler? For one, it will give you peace of mind as it will eliminate the constant worry of whether the water levels are okay. Note that too low levels can cause damage to the pool equipment which can be expensive to replace.
It will also go a long way in protecting your yard from flooding caused by overfilling. It also has an aesthetic benefit as it eliminates the need to have hoses floating on your pool (hoses can be a hazard too).
Tile replacement
Broken and old tiles are not only unsightly, but they can cause injury or damage to the pool. This is one of the priority areas of remodeling that will instantly change the appearance of your pool. Retiling with updated and attractive tiles will enhance the overall appearance of your pool area.
Conclusion
As you remodel your home, do not leave your pool out. It gets worn out too, something that will not only cause inefficiency in energy use but can also be a hazard. Do a remodel to eliminate these worries and also enhance the ambience of your outdoor space.
5 Creative Ideas for Renovating a Nursery Room
The first room that a child experiences is the nursery. It prepares them for their future as they learn how to sleep, play and even walk in this new space. The nursery should be filled with items that will encourage a child’s curiosity and imagination.
Nurseries are also a place where many parents choose to decorate for baby showers, so it is important to keep in mind how this room could transform over time. It’s also helpful to consider the different types of nursery beds, storage and lighting.
We’ve rounded up five design ideas that can help you get inspired for creating your perfect nursery room.
light source that matches the style of your child’s bed

If you are planning to use a convertible crib, go ahead and purchase one with a canopy. Place an overhead light fixture that matches the bed’s style, then switch it on each evening before your little one falls asleep.
If you plan to use this room as an adult guest space in the future, think about investing in lighting styles that will complement your décor and fit in with other items in your home.
n area for rocking and comforting
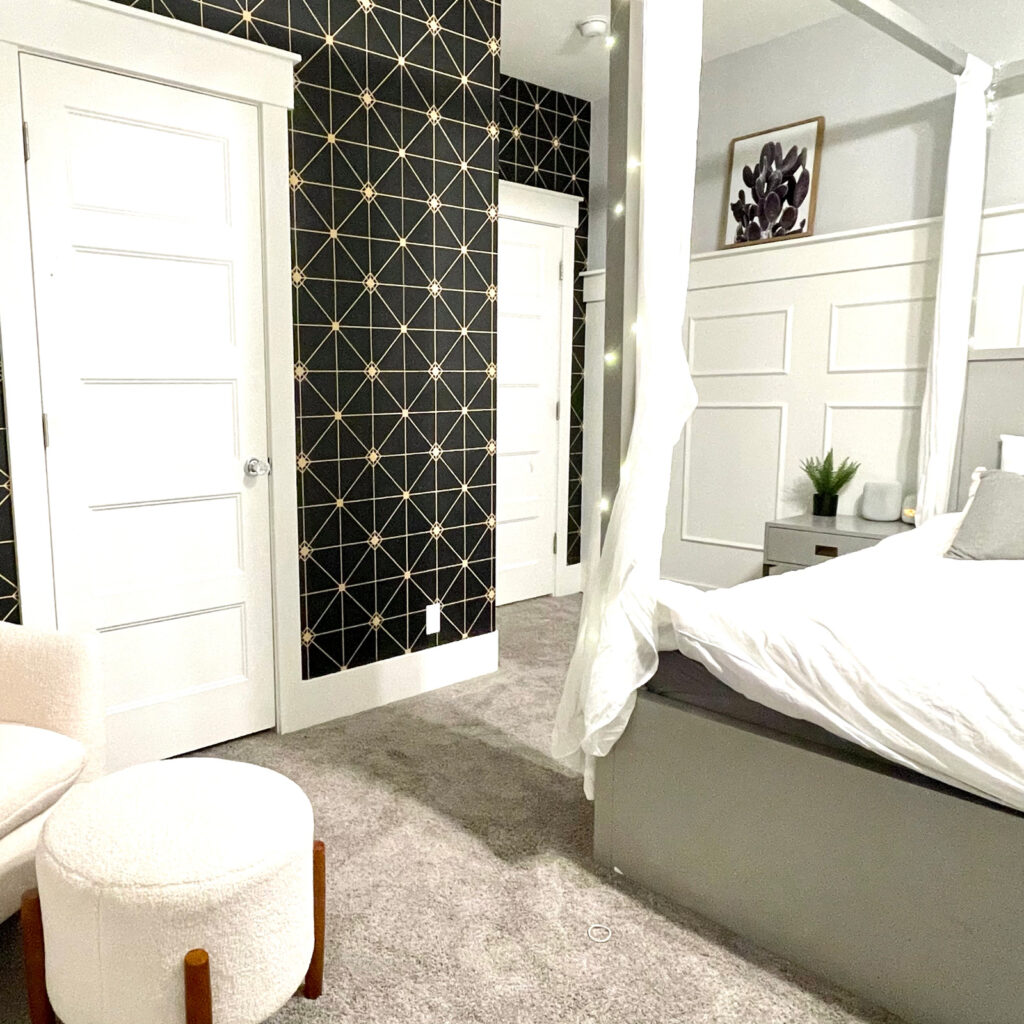
If you plan to use a crib until your baby is ready for a toddler bed, it’s helpful to create a separate space that is solely dedicated to comfort. This may be as simple as adding an armchair next to the crib or creating a special reading corner in the nursery.
Peel and stick Wallpapers
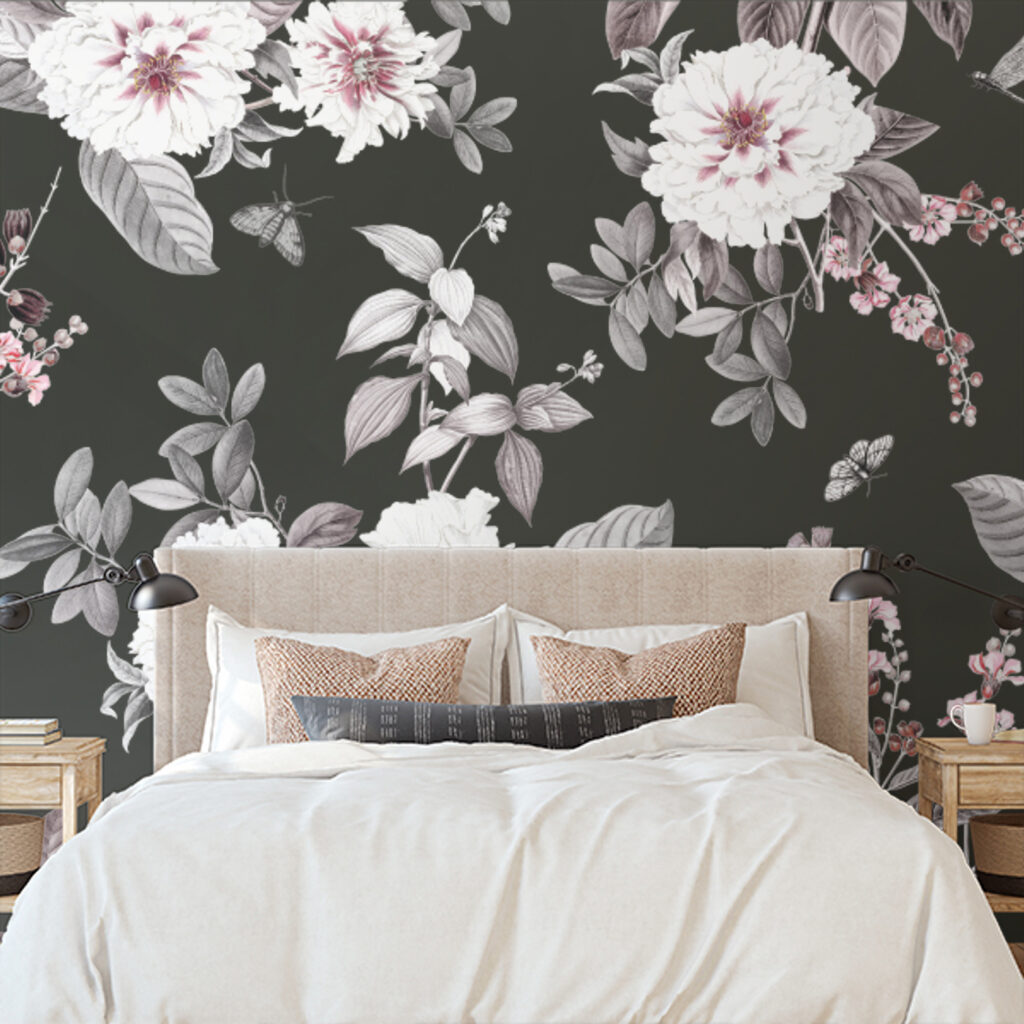
Use Custom wallpaper that is peel and stick wallpapers to add color and texture to the walls, then carefully paint over them with a low-odor paint. Peelable wallpapers can be great for nurseries as they can be repainted and redecorated over time.
Decor that expands their horizons
Children’s rooms should be decorated with items that broaden their horizons, like a mobile that includes images of the moon and stars or an area rug with an interesting pattern. These are only two examples of how to transform this space into something special. Use your imagination and decorate this room with items that will encourage your child to explore while they are still very young.
Lighting and storage containers that parents can use in other rooms
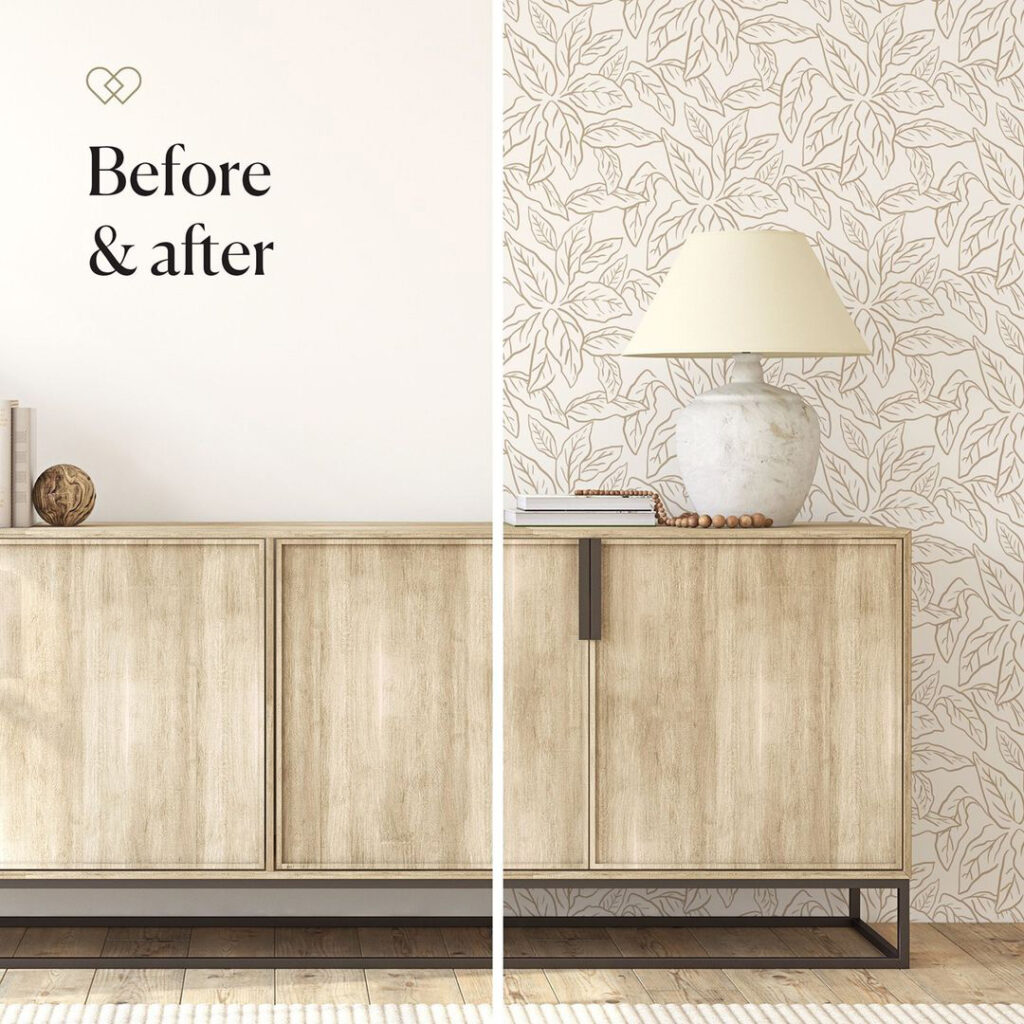
It’s a great idea to add lighting and storage units that can be used in different parts of the house when you are finished using them in the nursery. If you have the budget, you may also want to look into changing tables with storage space.
style that reflects your personal taste and is easy to update
It’s important to decorate a nursery room in a style that showcases your personal tastes, but is also functional. You can do this using wallpapers for nursery. It’s helpful to go with basic colors and designs for this room as you will most likely be updating the space every few years.
Top 8 Kitchen Design Trends To Watch Out For
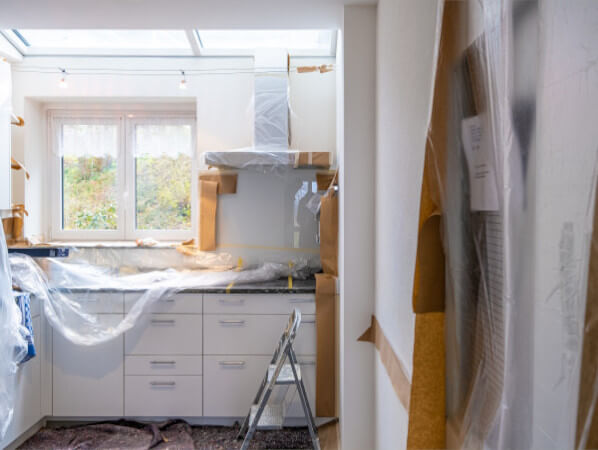
Are you looking for a new kitchen design for your home in 2021? This is the perfect time to update your space to fit your personality. However, if you aren’t sure how to change your kitchen, look at the design trends below for some insight.
Natural Look
Wood is a natural look that is truly timeless. Updating the kitchen with wood accents is a great choice. With many wood textures, finishes, and species, you have a ton of options. Replace your cabinets with wood ones for a considerable change.
Floating Shelves
If you need extra storage, consider modern floating shelves. This is a great kitchen design option that gives you functional space for storage. It’s fun to look at and completely practical.
Extra Colour
Even adding a new coat of paint can transform the kitchen. If you want an easy accent, add some colourful paint. Look for complementary bright colours and paint the walls and cabinets in different hues.
dditional Textures
Textures in kitchens are becoming popular. It might sound complicated, but all it involves is a little creativity. For instance, wooden cabinets, tile floors, and stone countertops work well together to add texture.
Stunning Fixtures
All the small fixtures can also come into play with kitchen design. Large lights can add elegance or new faucets can make the space more modern. Think about accents, colours, and more.
Modern Metal Materials
Adding metal to the kitchen can make it more modern and sleep. Stainless steel faucets, appliances, and other fixtures offer a dose of shine in any kitchen. A silver, copper, or gold backsplash will also work well.
Exciting Backsplashes
Everyone has backsplashes in their kitchen today. Bold designs and colours are the newest way to make them stand out. Add some texture and personality in a simple kitchen design product.
dded Storage
If you have lots of appliances, consider more storage. For example, a large cabinet can hold rice cookers, instant pots, and air fryers. You could also install a cabinet with pull-out shelves for all the extras.
When you are considering a new kitchen, make sure you have an expert kitchen design team by your side. They can help you decide the best way to rejuvenate the space and make it somewhere you want to spend all your time.
Learning to Fix Your Own Water Heater
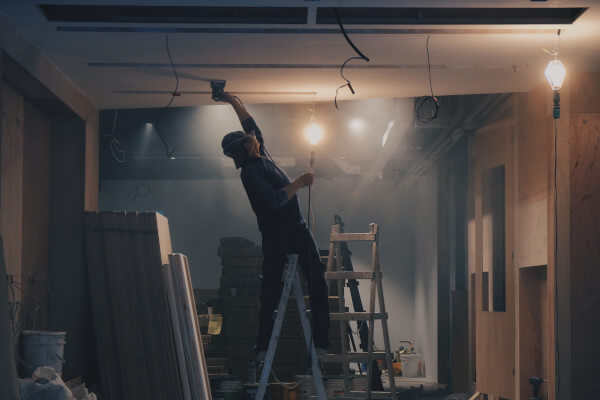
Having hot water is one of the most vital resources a homeowner can have. Taking showers, doing dishes, and washing clothes all require this valuable commodity.
Water heaters can malfunction at any time with no warning. Learning to troubleshoot problems with your water heater can be a lifesaver.
If you’re unfamiliar with how to navigate your water heaters system, it’s okay. We’ve got a guide on learning how to fix your water heater.
Troubleshooting Your Water Heater
Listed below are some of the most common problems you can encounter with your water heater. Keep reading to find out simple solutions for these problems.
Thermostat Issues
If the water in your sink or tub is too hot or too cold, there could be a thermostat problem. Testing the thermostat with a voltage meter can let you know if the component is faulty.
Dripping Valves
Does the hot water in your home not last long enough? This could be a problem with dripping valves or fixtures.
Use a wrench and check all the connections on the pipes and hoses around the water heater. Ensure everything is tight and locked correctly.
Puddles Under the Water Heater
You may have found a puddle of water under the heater unit. Is it a leak or just condensation?
If you’ve recently installed a new water heater, condensation is present on many newer models. Monitor your water heater as it turns on.
Condensation tends to build up after the first few minutes a water heater turns on. Approximately one half-gallon of vapor can form from the unit powering on.
Winterising
Is your water heater freezing when the temperatures get cold outside? Frozen water heaters can cause severe malfunctions.
The heater may require extra insulation around the main unit. If this doesn’t seem to help, consider purchasing insulation for your pipes.
Recognise and Diagnose
Pay attention to how your water heater functions. Get familiar with the noises it makes and the cycles it goes through. This ensures your ability to notice small changes that could lead to bigger problems later.
If you simply can’t fix it yourself, consider investing in a brand new water heater from your local plumber
Factors to Consider When Choosing New Lighting for Your House
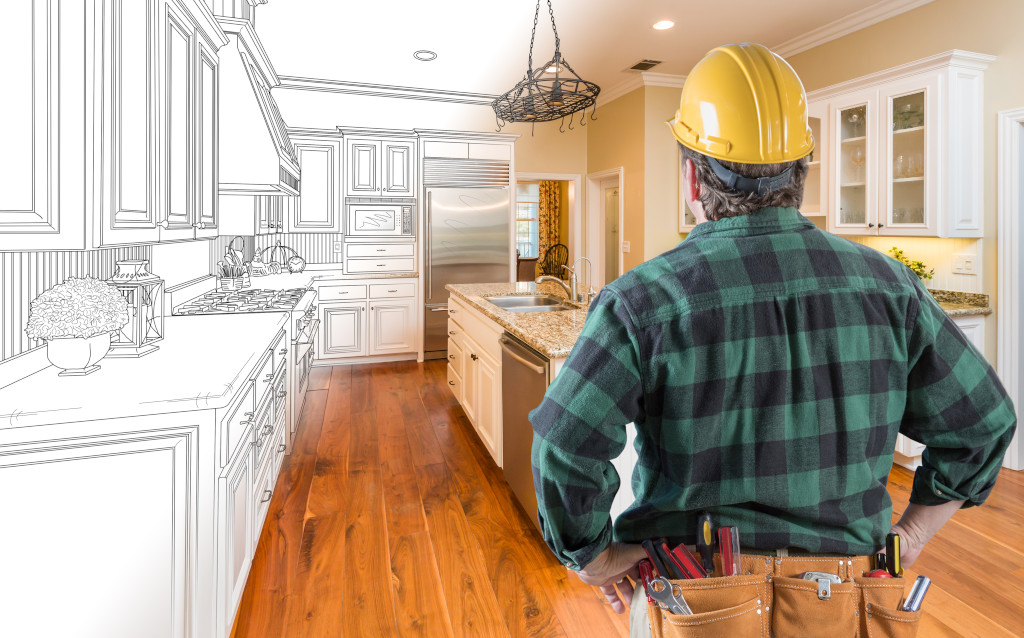
Lighting plays a crucial role in interior design. It has a direct effect on the appearance, mood, and functionality of a room. Besides placement, your choice of a lighting fixture can either make or break your home design. In your next lighting purchase, be sure to consider these important factors to save time and money.
Overall theme
Always choose a lighting fixture that complements the overall theme of your house and the furniture design. You must decide first whether to go for a classic, contemporary, or transitional theme. Then, you can shop for lighting fixtures.
Ceiling height
Another important factor to consider is the ceiling height of the room. If your ceiling height is 8 feet or lower, it would be ideal to choose flush mount or semi-flush mount lights. That will avoid crowding the space unlike when you install chandeliers and pendant lights.
Room size
Your lighting should be proportional to the size of the room. Choosing a light fixture that is too small for the size of the room won’t give you the right amount of light for illuminating spaces. On the other hand, too much light can make a room feel uncomfortable.
Energy efficiency
This is an important consideration when shopping for a lighting fixture. Opting for LEDs will help you save money on your monthly energy bills. According to the Department of Energy, LED lights use at least 75 percent less energy than incandescent lights.
Consult a licensed San Diego electrician
Are you having a hard time deciding what type of lighting fixture to install in your home? If yes, do not hesitate to ask the experts from your trusted local electrical company. Hiring a professional San Diego electrician to perform installations and repairs in your home will help ensure your safety and the safety of your family. What are you waiting for? Call the pros now!
5 Popular Countertop Materials For Your Kitchen
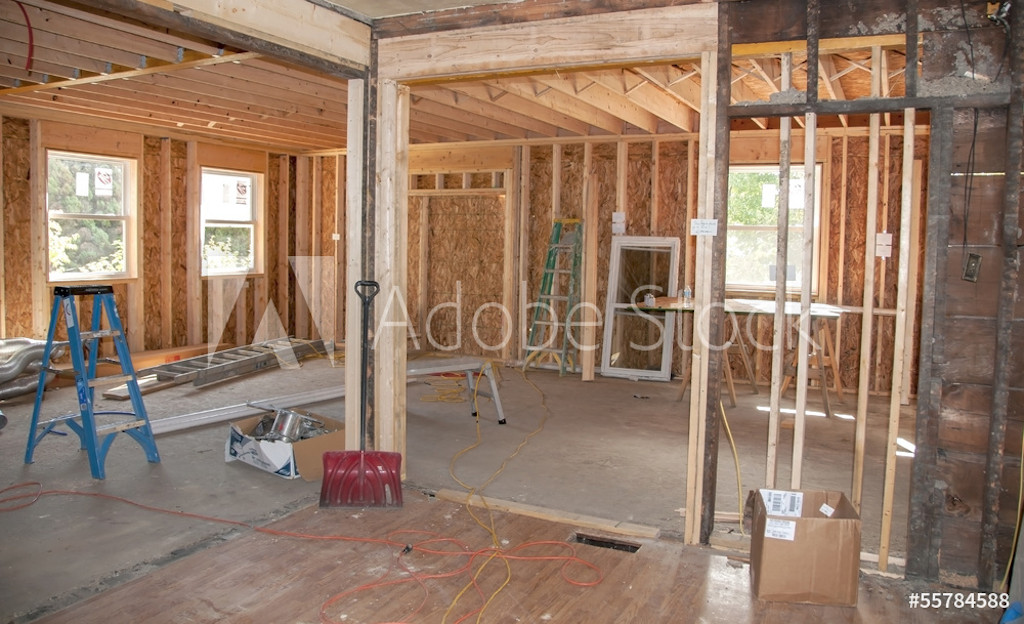
Kitchen design incorporates a variety of elements. Each plays a vital part in bringing your concept to life, from what appliances you choose to the color scheme for your worktops and interiors. One area that is not just important for function but also style is your countertops. This surface area will give you a foundation to prepare food and also ties your design ideas together.
How do you decide on the best option with the vast array of countertop materials to choose from? Check out some of the popular kitchen countertop materials below to find out:
Quartz countertops
Quartz is an excellent example of getting a high-end look in your kitchen without the high maintenance compared to other materials. It is one of the hardest minerals on the planet and is resistant to staining and marks, which is perfect for a busy family kitchen. This material is also extremely durable, and there is more consistency within the colors from slab to slab. The finish of quartz has a glossy look and creates a luxury aesthetic in the kitchen space. Take a look at some of the best quartz kitchen countertops for examples of this material.
Marble countertops
Marble is synonymous with luxury and is used in low-traffic kitchen spaces. The material is more fragile than other options as it has a porous surface and may stain easily. This natural material is beautifully unique and can vary from slab to slab in color and veining. There is a range of matte and glossy finishes depending on your requirements.
Granite countertops
Granite is a natural product that originates from a variety of sources across the world. It has a raw and unmatched beauty, and the look may vary from slab to slab. While this material is durable, it does require some maintenance, such as sealing every 10-15 years. This sealant protects the granite from oil penetration and staining, so ask your vendor what is required when selecting this material for your kitchen.
Solid synthetic countertops
Solid surfaces made from synthetic materials are a popular choice in kitchens. This countertop material is nonporous and is heat and stain-resistant. Over time you may see some scratches on the surface, but these can usually be removed with buffing. If you’re looking for a consistent color or pattern match, this is an excellent option as there is a wide selection of colors and styles. Most solid surfaces have a matte finish and vary in price depending on the color choice.
Solid wood countertops
Wood is another option for kitchen countertops, especially if you want to add warmth to the interiors. However, it is mainly recommended that wood be used as a focal point rather than the whole surface of the kitchen. Wood is high maintenance and scratches easily. It is also susceptible to damage from water and general kitchen items. This style of countertop is usually matte, but you can have a high gloss applied to the surface for a smooth appearance.